Week 1 activity 1
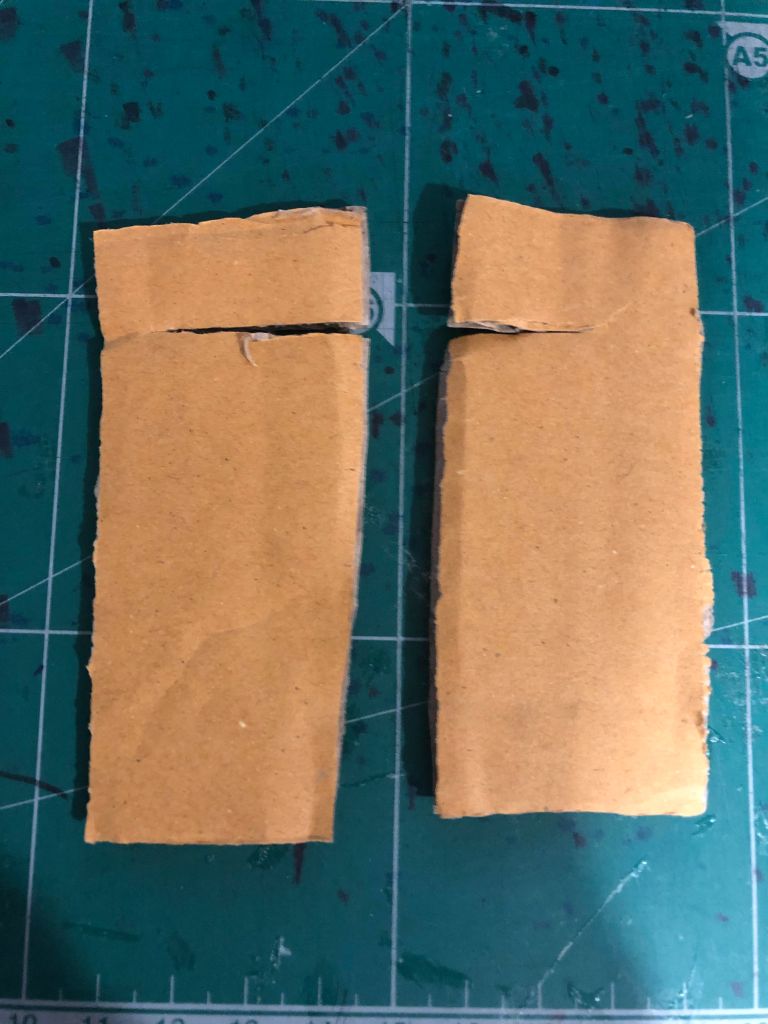
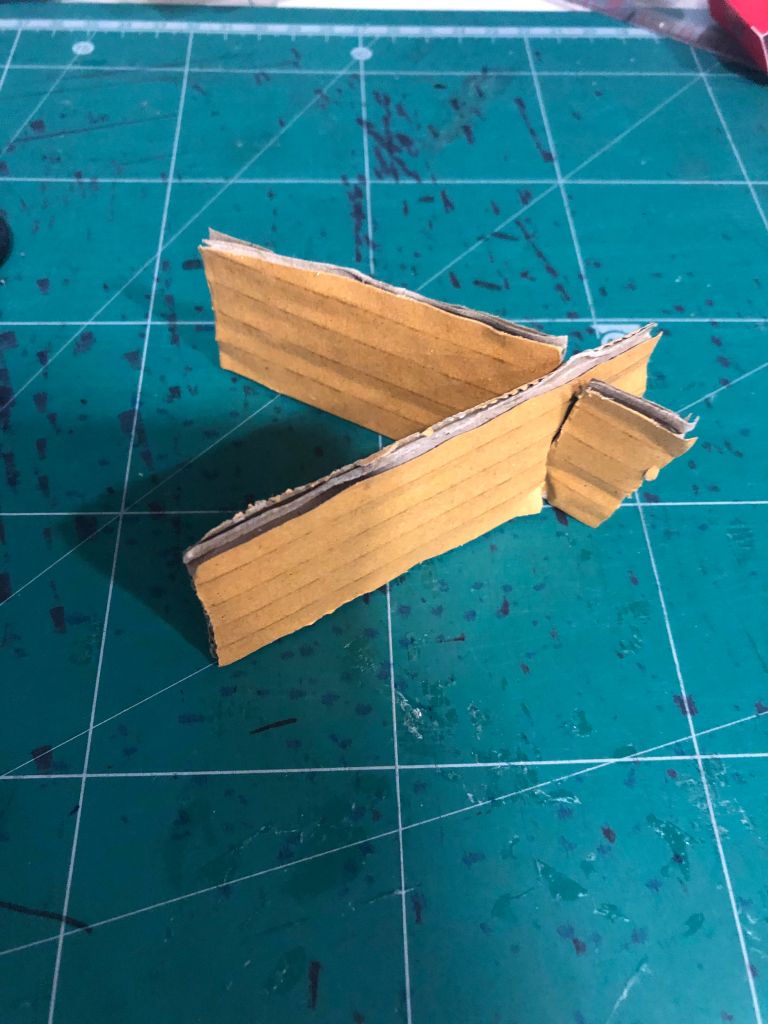
Different paper techniques 1.Interlocking- BY cutting 2 piece of card you can join them together
2.Folding- you can join a card or achieve curves and straight lines with this method.
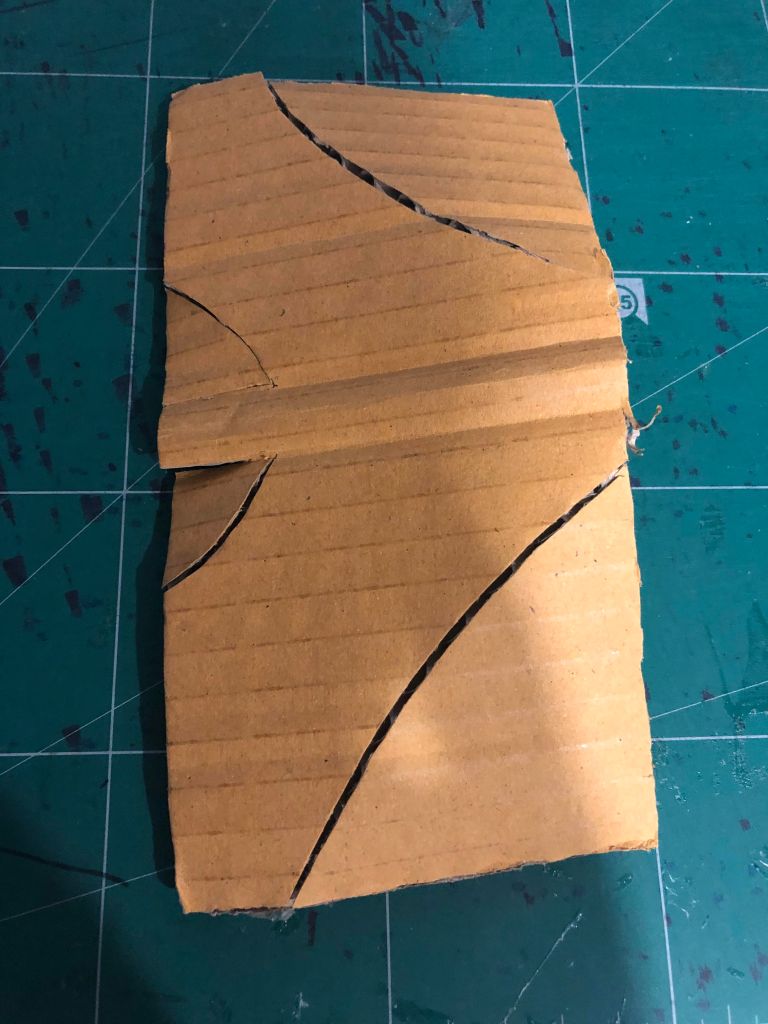
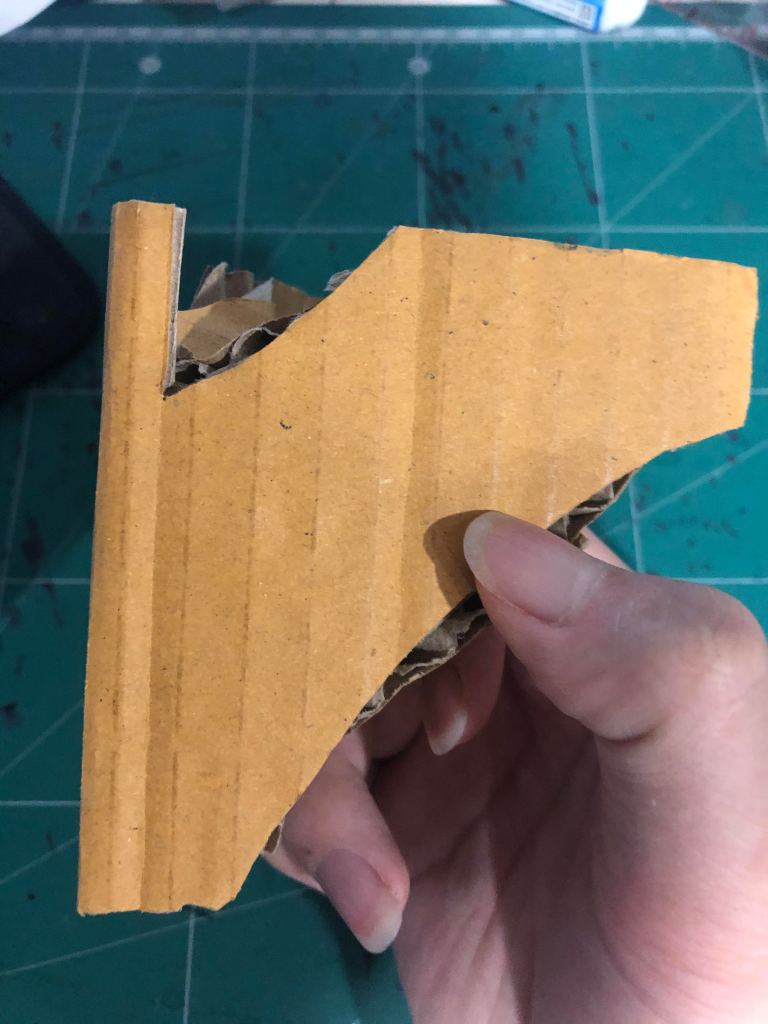
3.Gussets and Darts- in this method is to cutting a section of a paper to create a 3D shape from a flat paper.
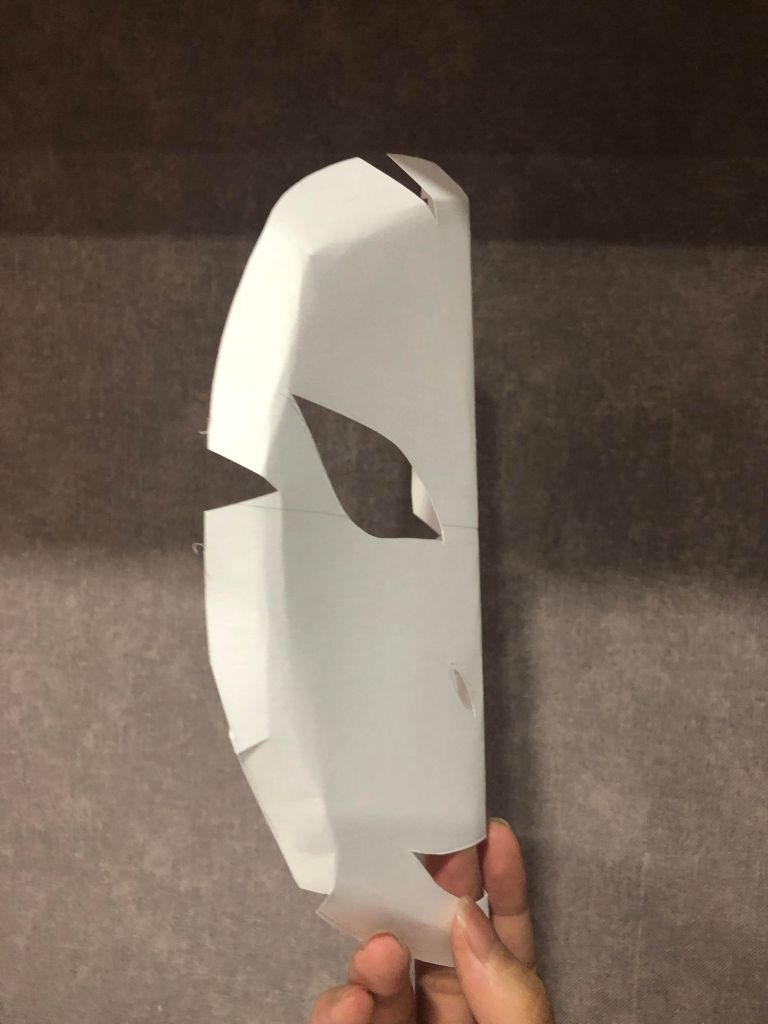
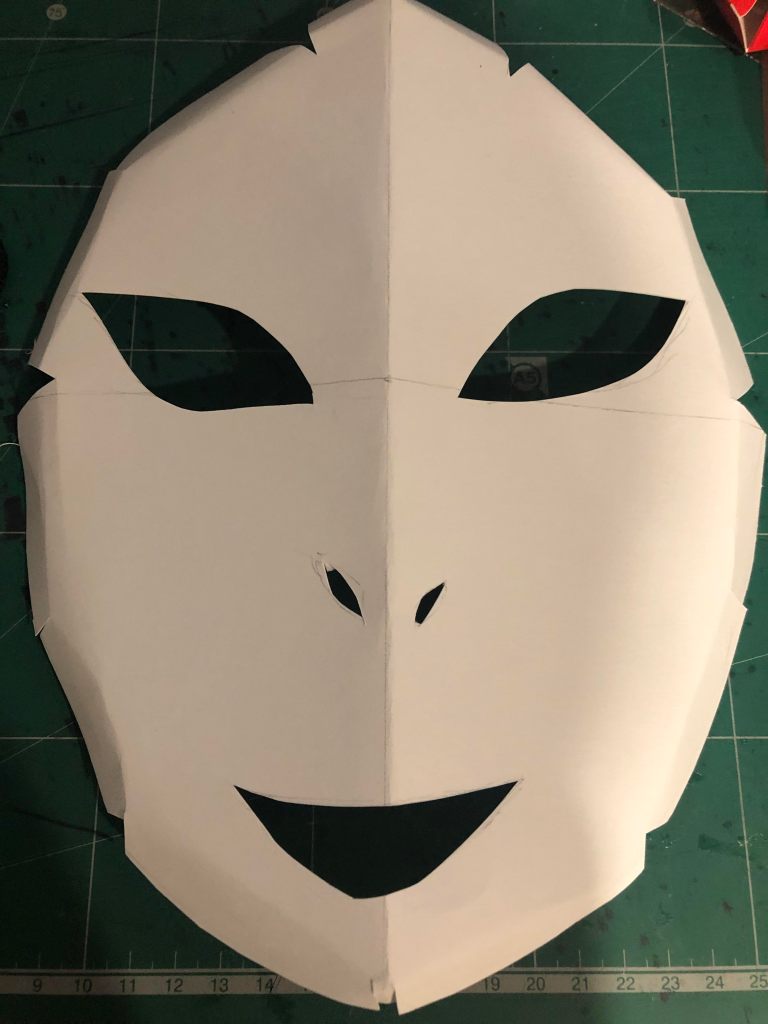
4.Combination of every techniques I learned in this activity.
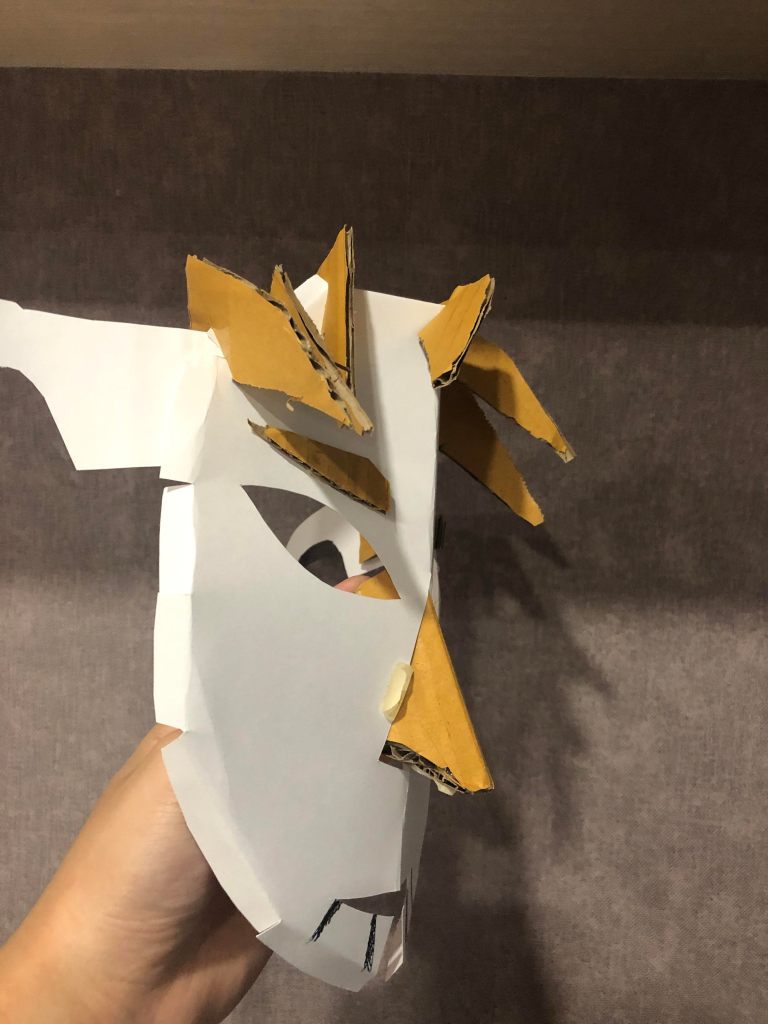
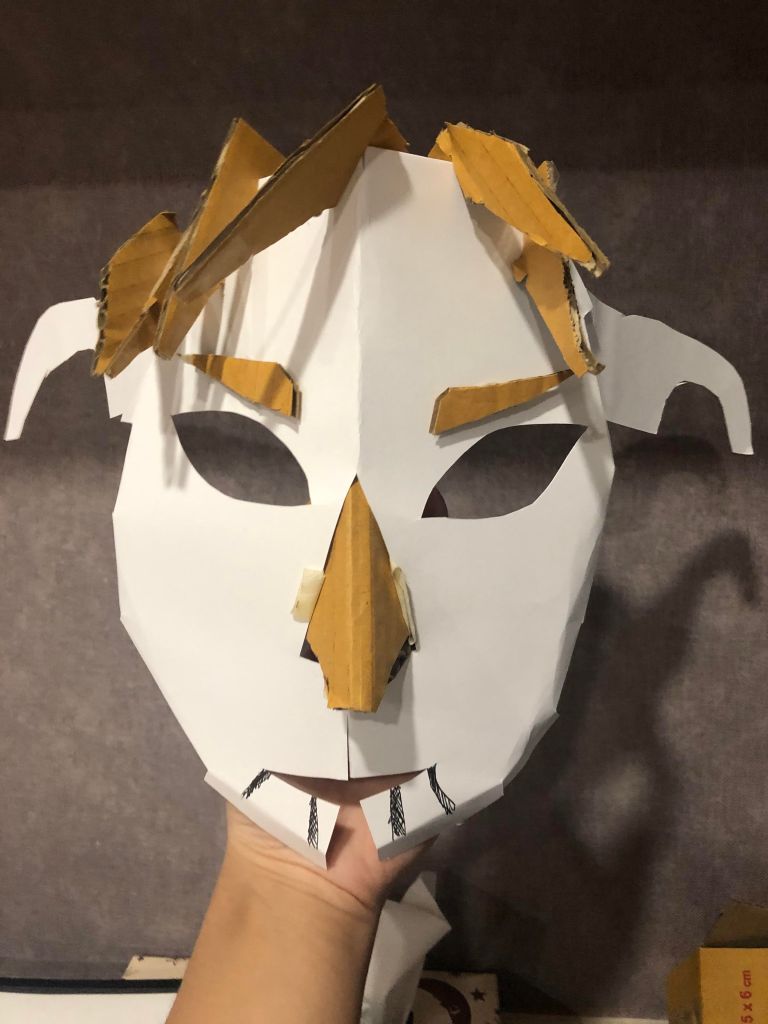
After I learned 3 different paper method, So I combined it to make a mask. Starting with a hair I used Interlocking technique to connect the hair to the mask itself. Next, I used Folding technique to make the nose and connecting it with a gusset technique with is making a extra piece to connect it with the mask that made from a darts techniques. I found that it’s very interesting to combined 3 different techniques that can easy make a mask.
Week 1 activity 2
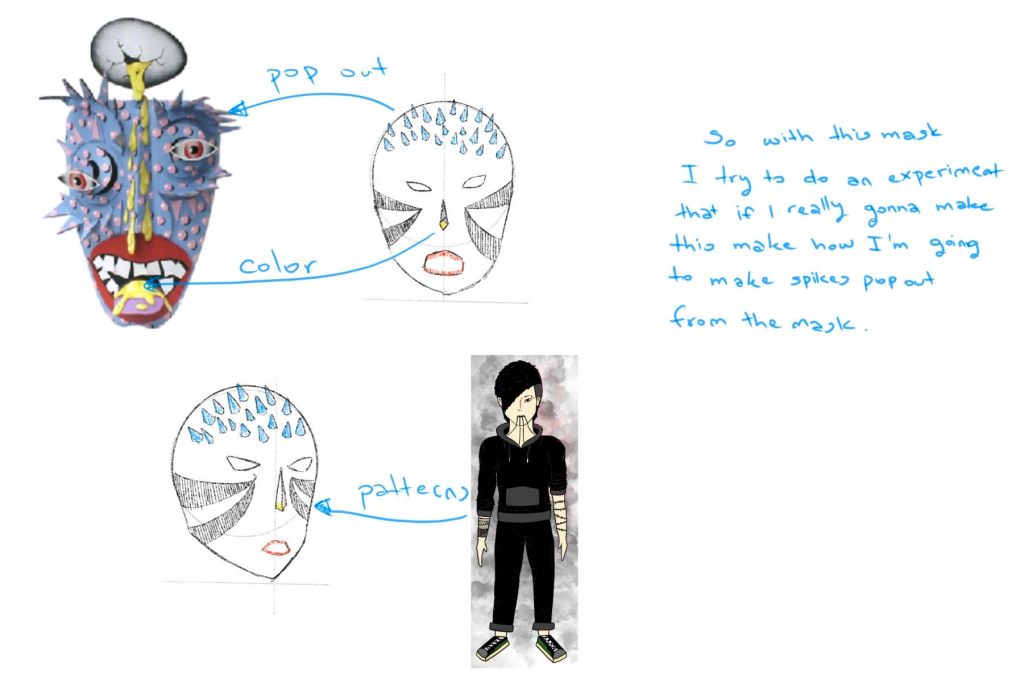
In this activity I learned about different paper techniques. 1. Pop out- In this techniques I cut mark on the paper in different shape. After I finish making a mark on the paper I push it up to make It pop out from the paper.
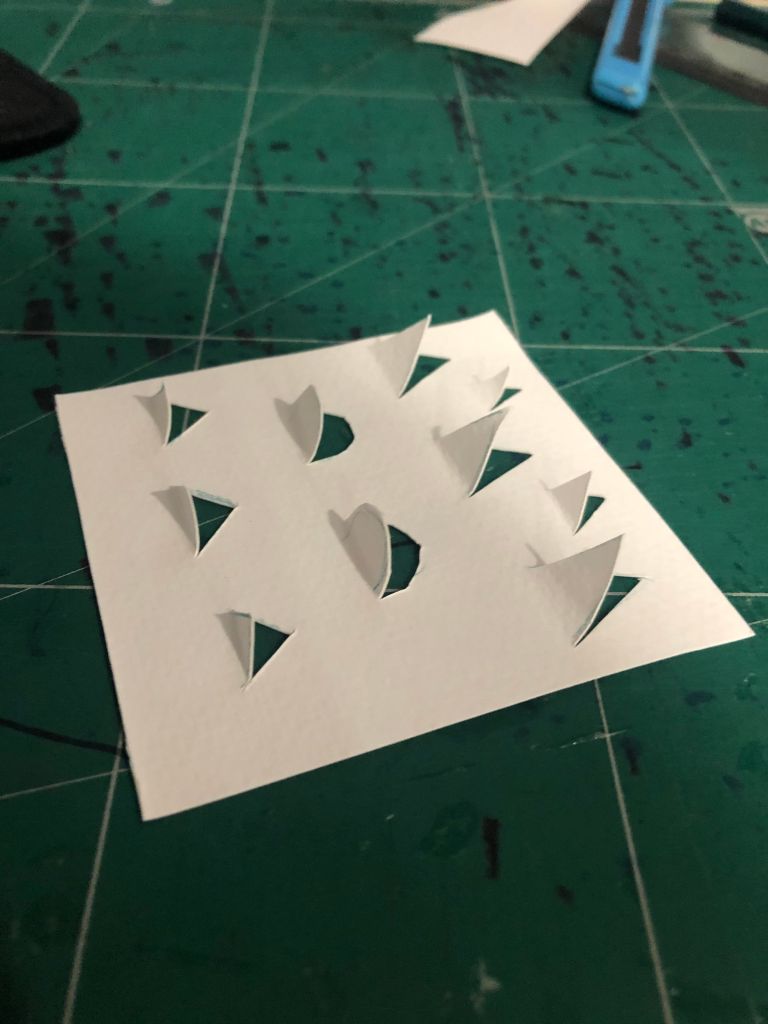
2.Curling- I use a scissor to make a mark on the paper and try to roll it to make it curly.
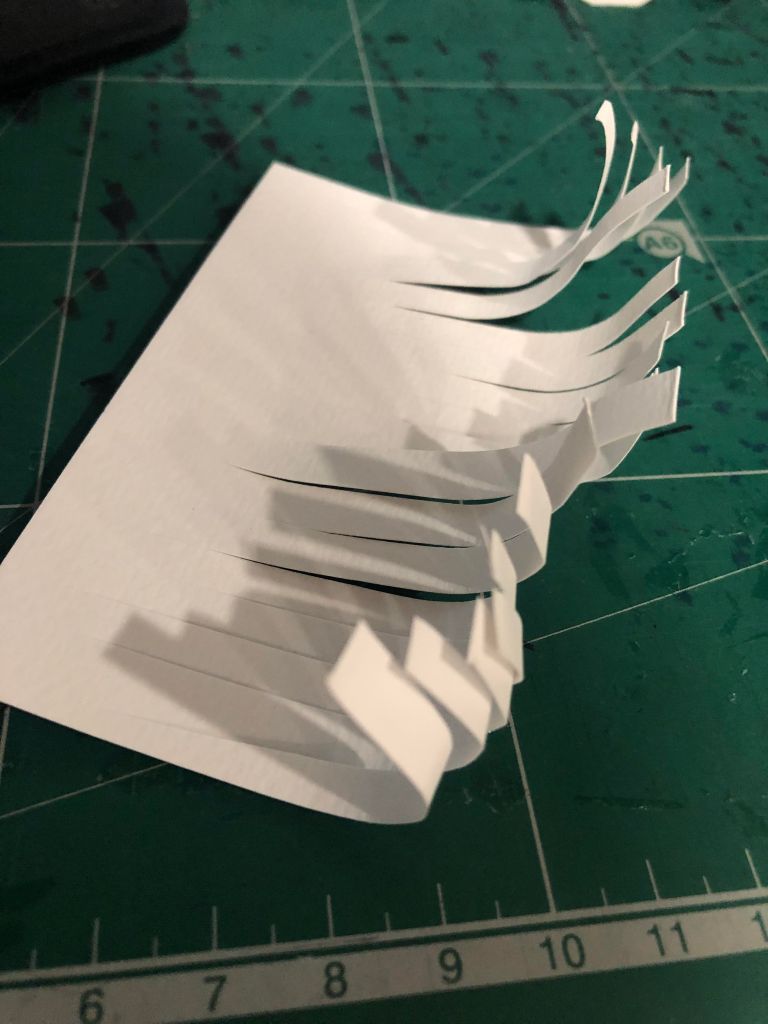
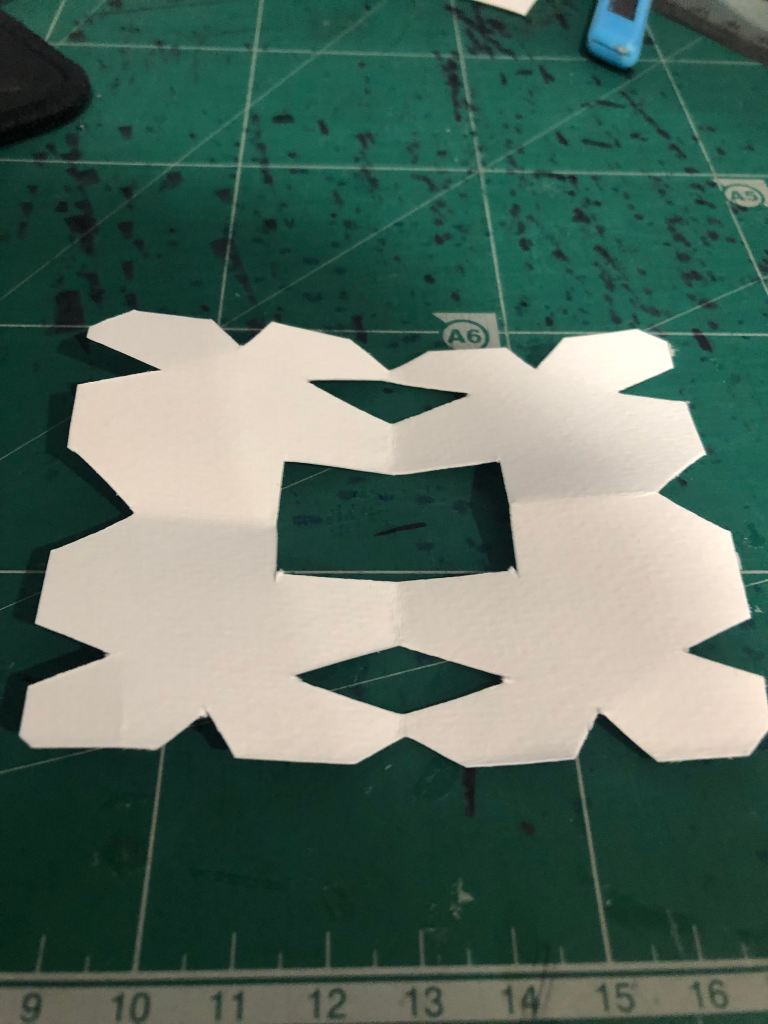
3.Patterns- In this technique I fold the paper into a square and starting to cut out some part of the paper to make a patterns in the paper.
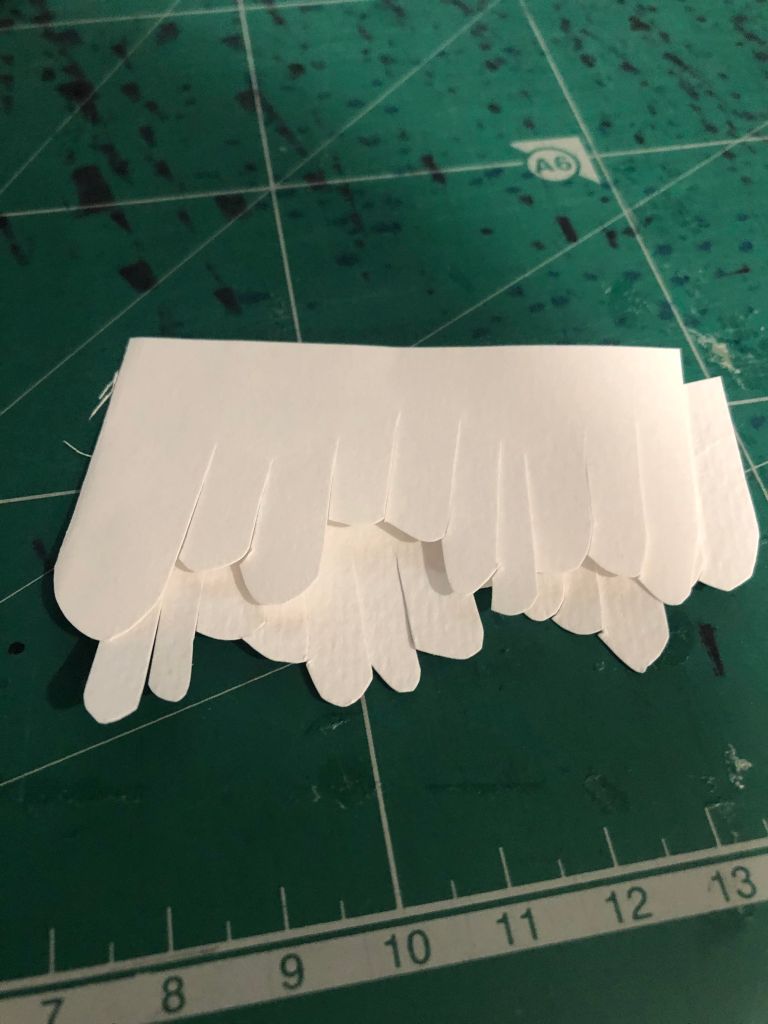
4.Scales- So this technique I try to make it like a animals scales by cutting a curve in the end of the paper. By doing it twice making a layer and feel that it look like animal scales.
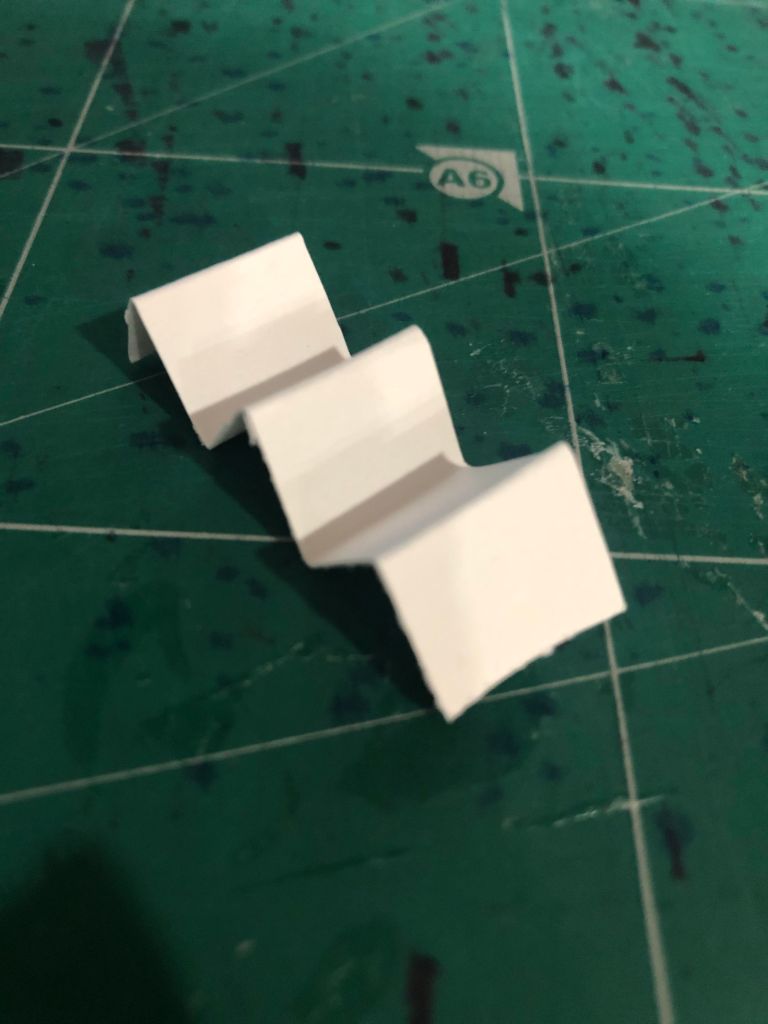
5. Concertinas- Is make by folding a paper into a small piece all over each other to make it look like stairs.
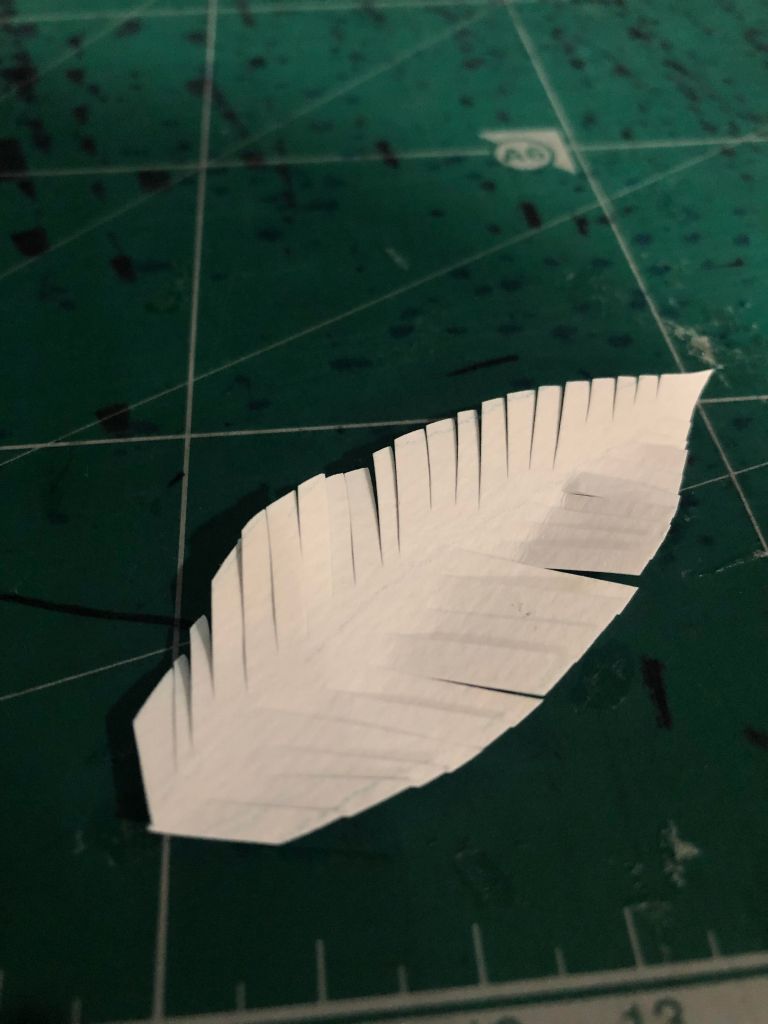
6.Feathers- In this technique I have to slowly cut a paper into a feathers shape, after that I slowly cut the feather in both side to make it separate from each others
Week 1 activity 3
Artist mask comparison
Week 1 activity 4
Thumbnails sketches mask design.
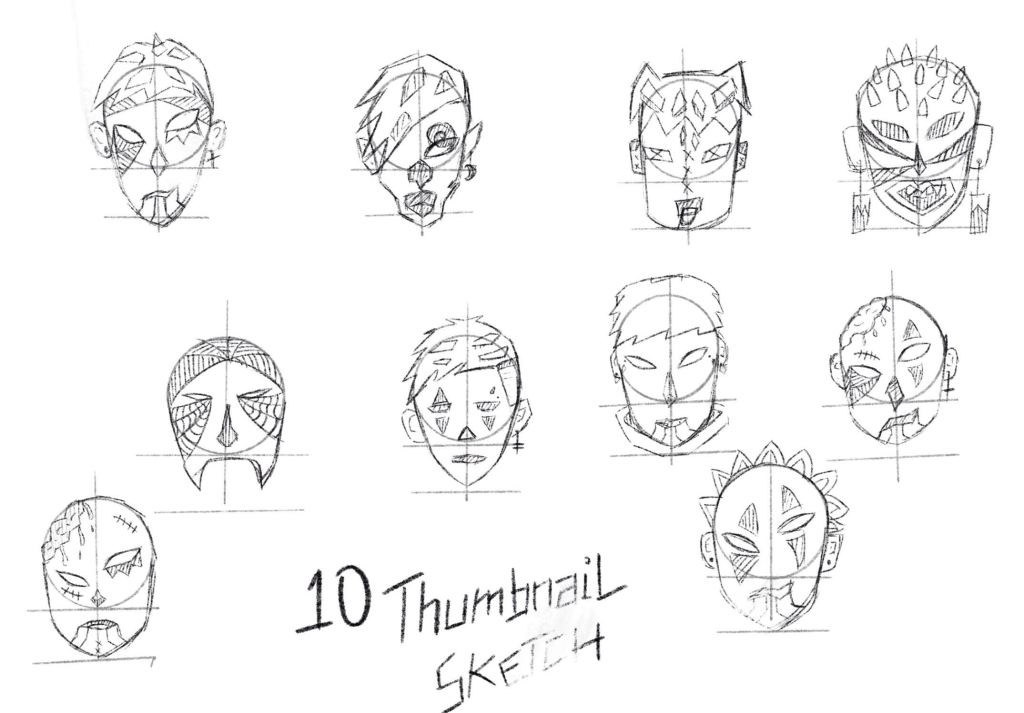
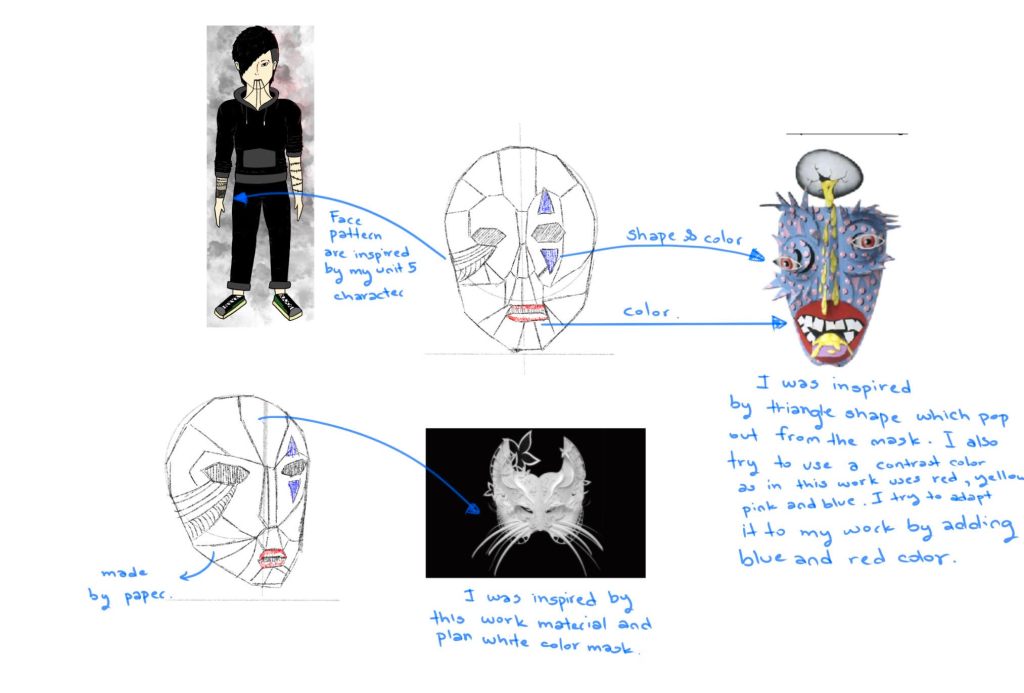
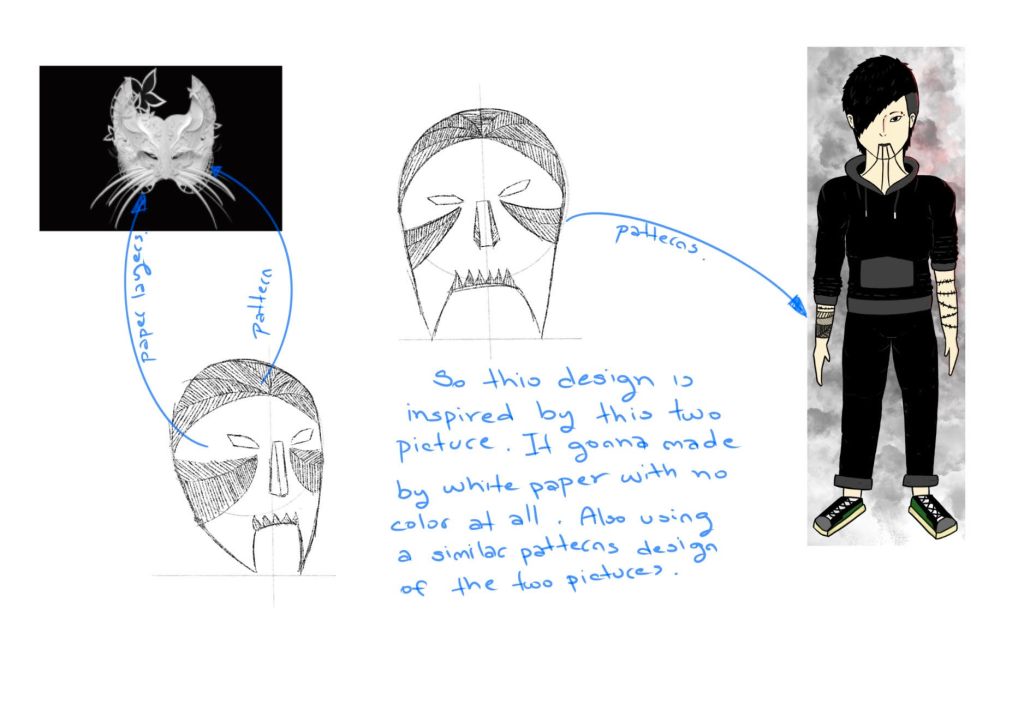
So after I have design this 10 thumbnail sketches design all of the design are inspired my primary and secondary research. For primary research It was inspired by my unit 5 character which has a stripes on the face. So in secondary research I get it from unit 6 week 1 activity 3 that I have looked through different artist that make the mask. Firstly the spike and some pop out layer from the face mask I get it from Dag Weiser and I think that the stripes on the face I will use same paper techniques with Asya Kozina paper techniques, I found that she like to use paper techniques in her work.
3 Developed mask design
Week 2 activity 1
Maquette – it is a model of a larger piece of sculpture
side 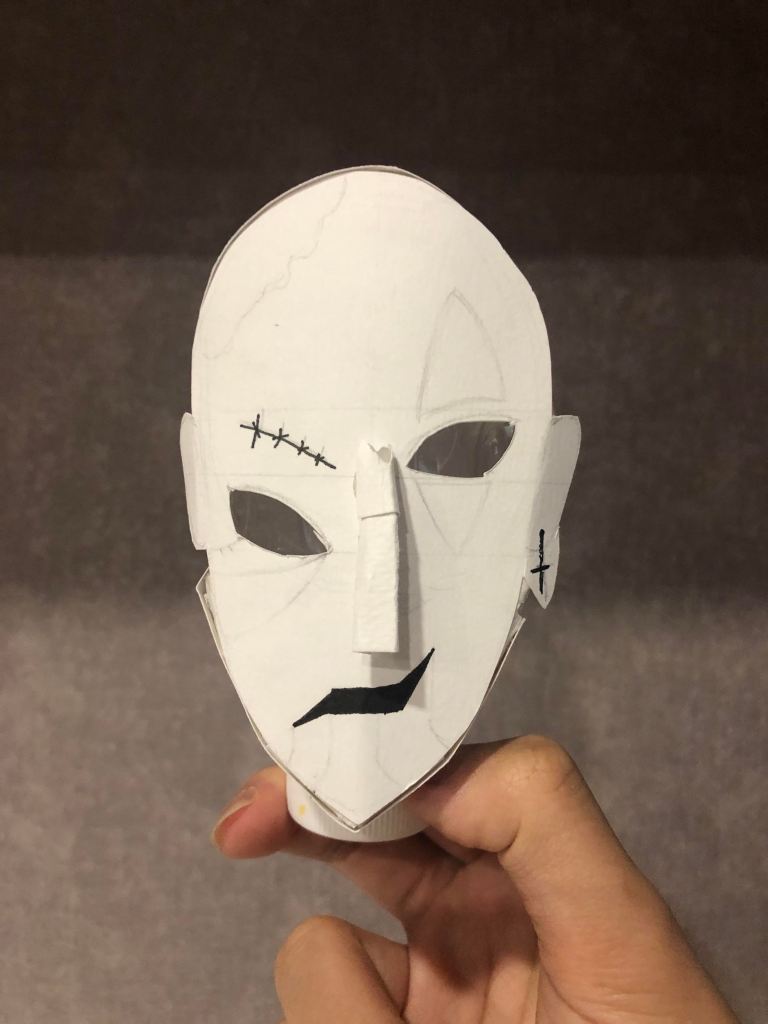
Front 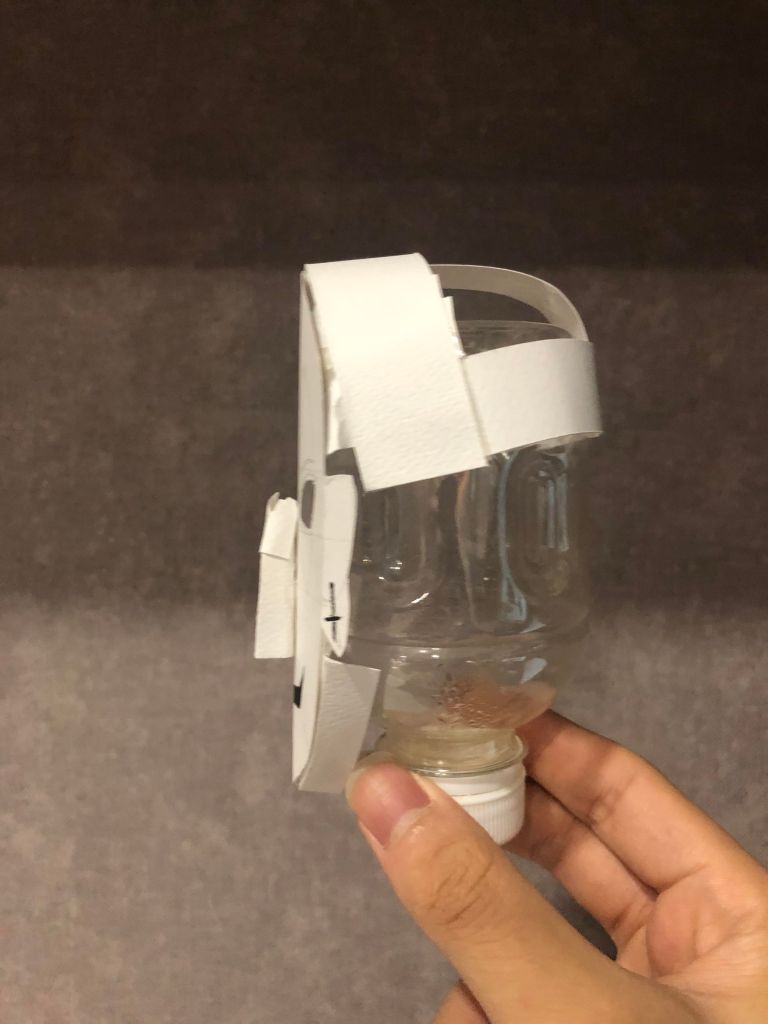
Side
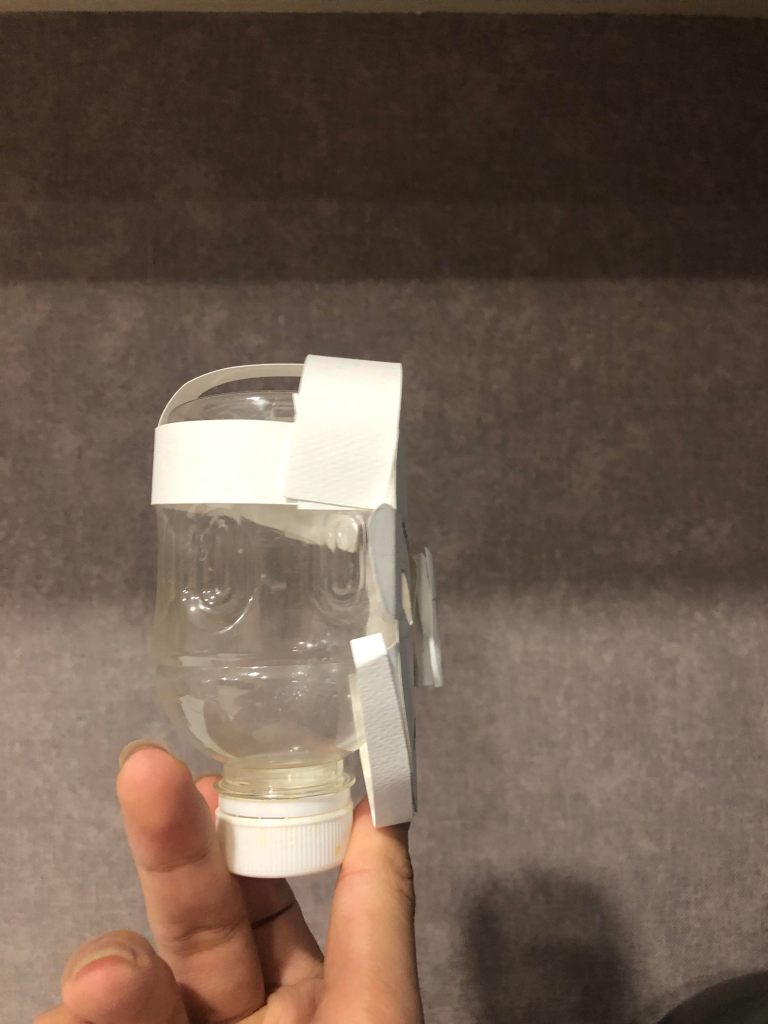
In this simple model of my mask I planned to make my real mask from a paper due to a reason that paper are easy to fold and shape it. I think that if I use cardboard I would be very difficult for me to fold it into different shapes. In this model I try to see and adjust how my mask will look more 3D which it should be improve in the final piece. I followed design mostly from the final develop mask design in last week activity.
Week 2 activity 2
Final finished mask
Left side 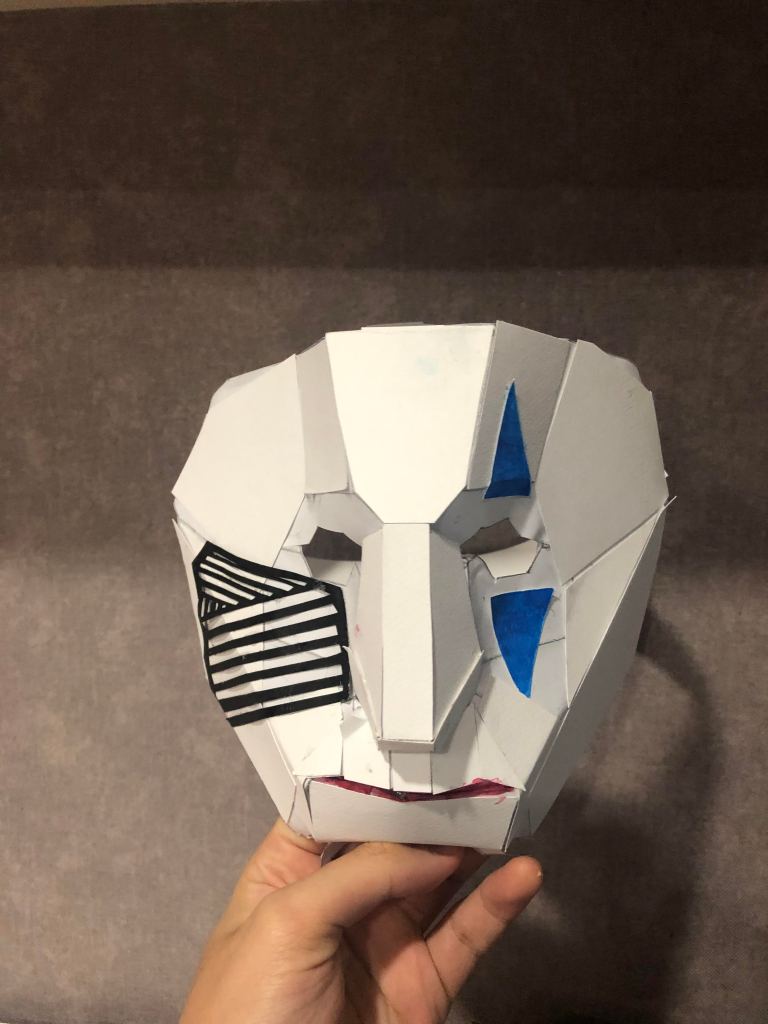
Front 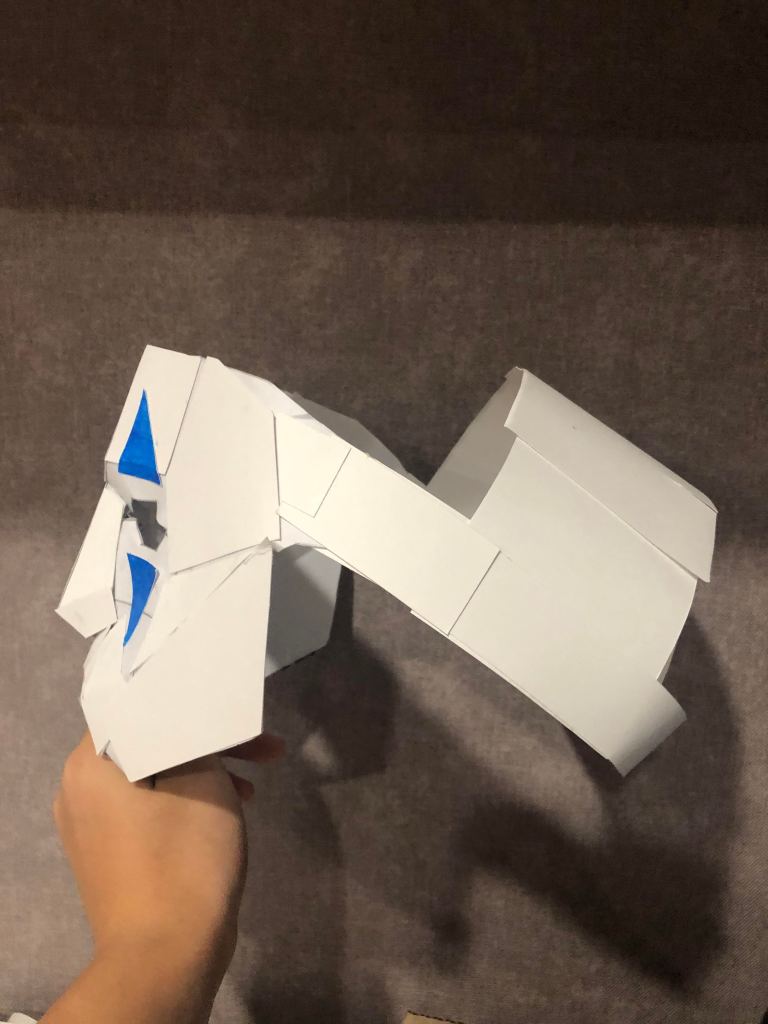
Right side
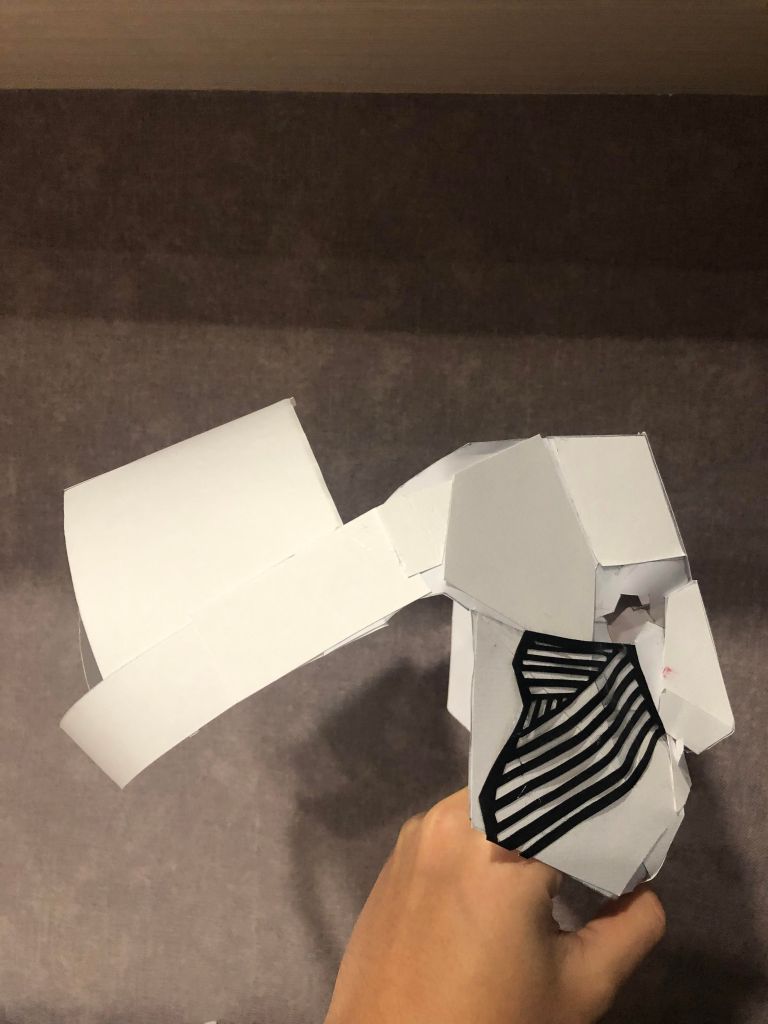
So this is my final mask, I have adjust the shape of my mask differently from a maquette model because I wanted I to look more 3D. As I have do a research on how to mask a 3D mask I try to follow what I have research on making the mask and at the end i get this shape of mask by using a hard paper sticking it together with glue. I found It very tricky to make a mask to look 3D, but at the end I have manage to get it.
Week 2 activity 3
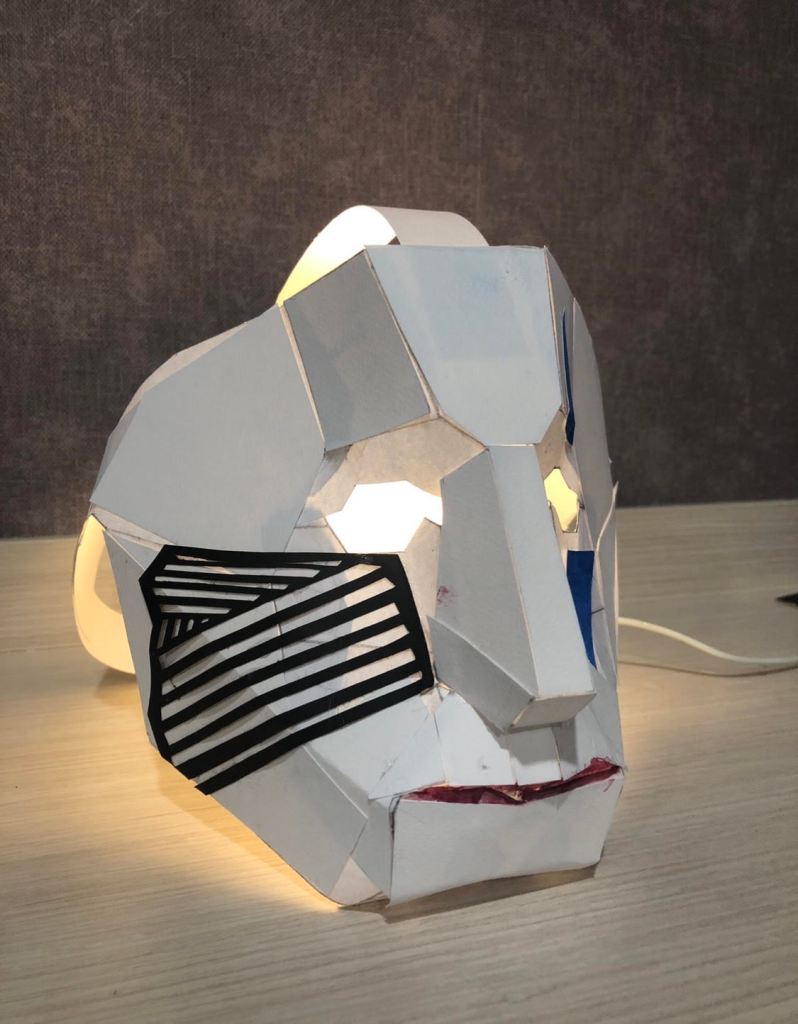
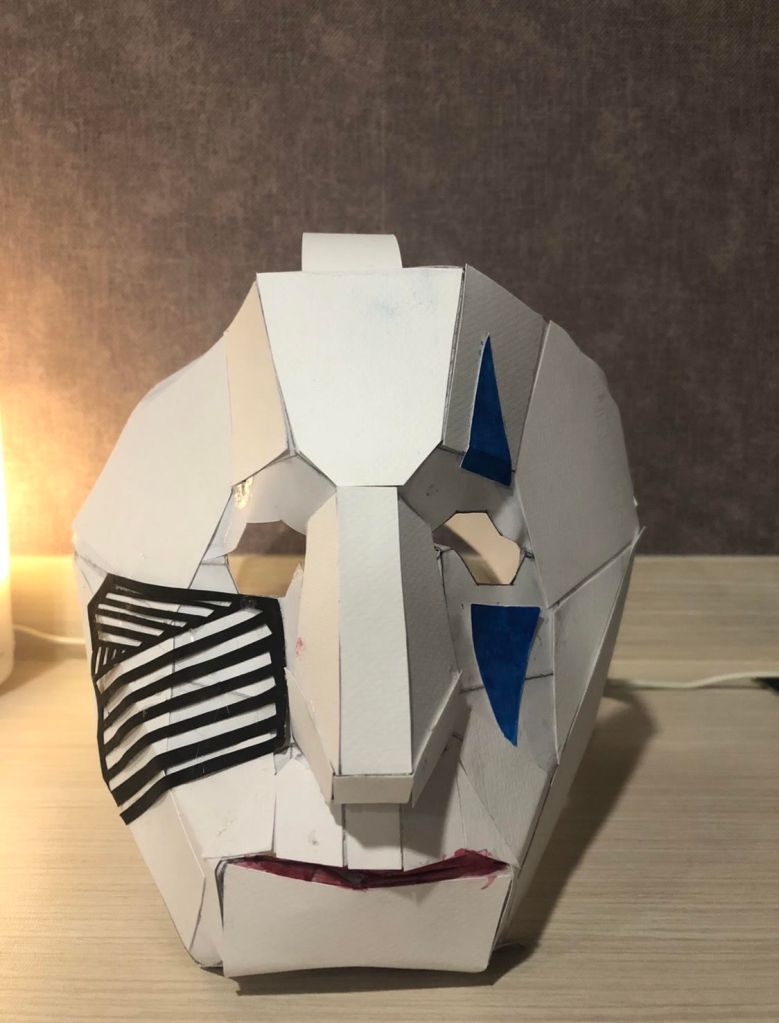
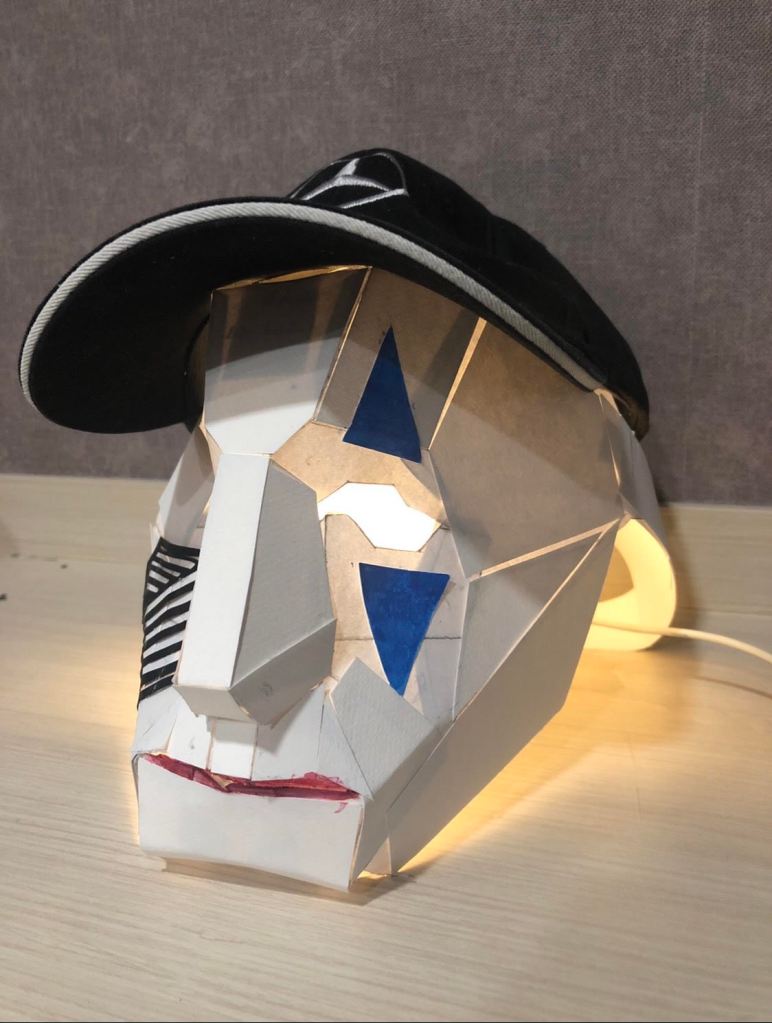
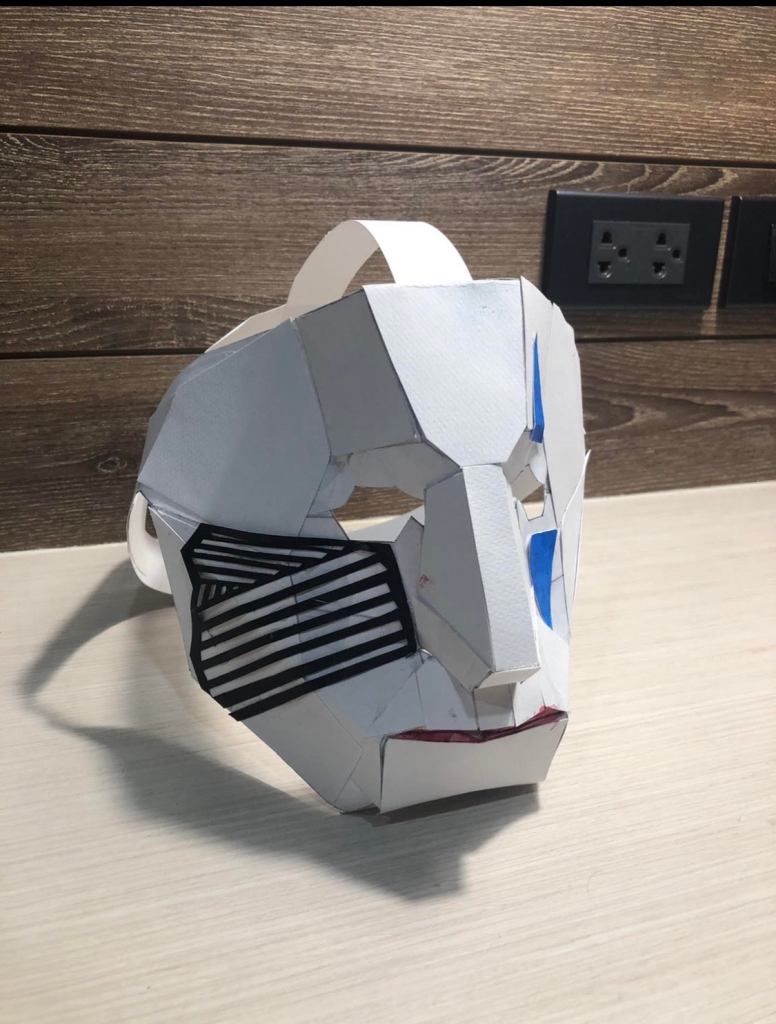
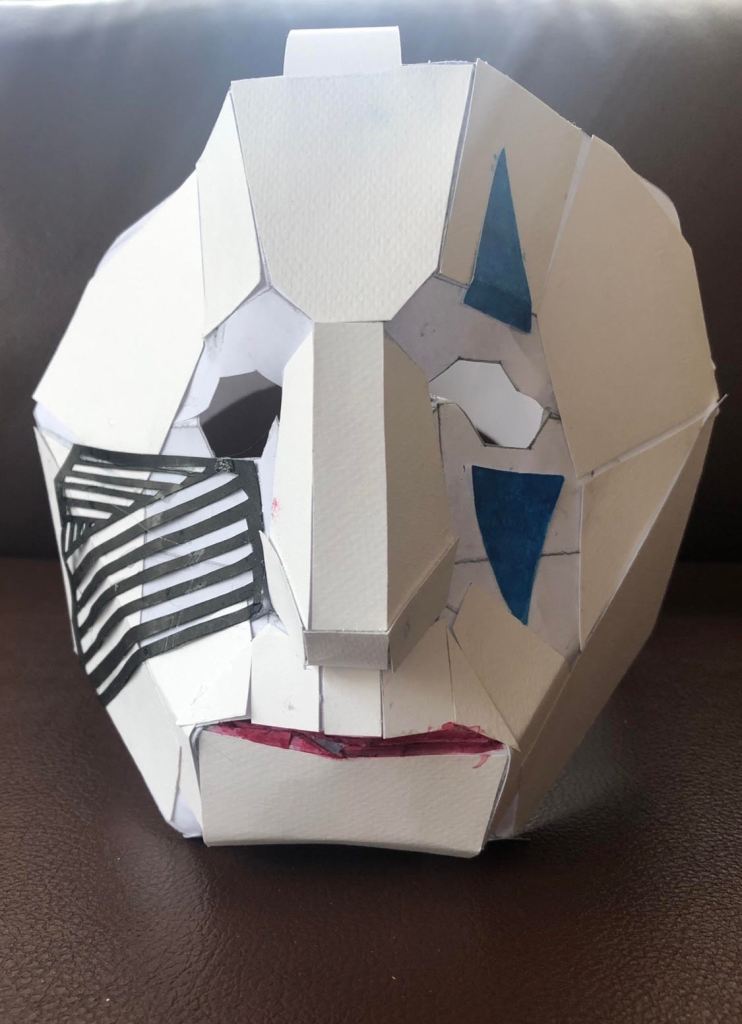
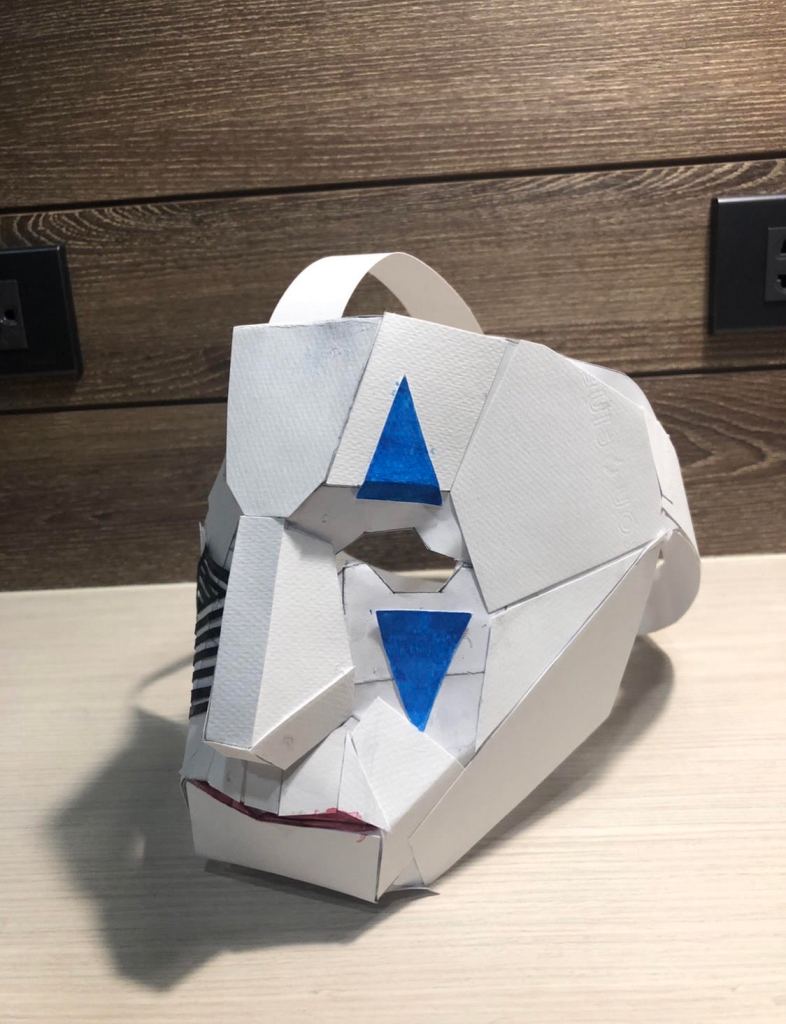
Photography of the mask- In this activity I my mask with some different lighting to get it shadow and the dimension of the mask.
Week 2 activity 4
Analysing
-Describe the appearance and character of your mask using visual language? I try try to make my mask of a 80s to 90s musician that they painted their face on the show. So I try to put some stripes and color to communicate to the audience that my character are a person that painted their faces on the show like the old time musicians.
-Describe how using photography you have improved the appearance and character of your mask? So the photography are mainly show the dimension of the mask and the shadow that are created by the light but I think that it also improved my character by just taking a picture without no one is wearing the mask to represent that everyone can become this person if you try hard enough.
-Explain how your research has influenced the design and purpose or context of your mask? During my research mainly this mask are influenced by my unit 5 character that I have made to be a musician. My unit 5 character also has some stripes on his face so I try to applied it to my mask design too. The only purpose of this mask is to represent the old time musician that are more widely uses the instrument but now some of the musician are not using instrument anymore but they use the technology to make their songs.
-Describe the materials, process and techniques used to make the mask? The material I use to make the mask in only hard paper, scissor and glue. I used a scissor to cut each hard paper into shape and glue it together.
-Describe how the materials, process and techniques used to make the mask help to effectively communicate the character? So I think in using just a paper and glue make it easier to make the mask in 3D shape to communicate that this character are not so flat but I also didn’t make it exactly look like human I just still want to communicate that this is the made up thing to look like the old times and we also can still do thing like the old days.
-Explain what problem you had in using paper and cardboard techniques in the project and how you overcame these problems. Explain what you would do differently next time to make improvement? I’ve faced a few problem during the process of making mask. First, the shape of the mask of to make it look 3D. I try so many times to find out that which way I can make the mask in the 3D shape most. Second, sizing of the mask I finds that its quite difficult to get each pieces of paper in the same size and fits to my head. So I overcame it by just try to adding a layer on top of it and use a ruler to measure my face face length and applied the measurement to each paper piece. I think I should try out more way to see how my mask shape and improve it because I still not satisfied with my mask shape.
Analyse how element of your work in unit 5 and 6 could effectively inspire time-based solution in unit 7? After finish unit 5 and 6, I think that I would use the same concept of unit 5 and 6 on unit 7 work so that I could improve on my concept of the musician character and find out some more information on this concept and applied it to unit 7 work.

